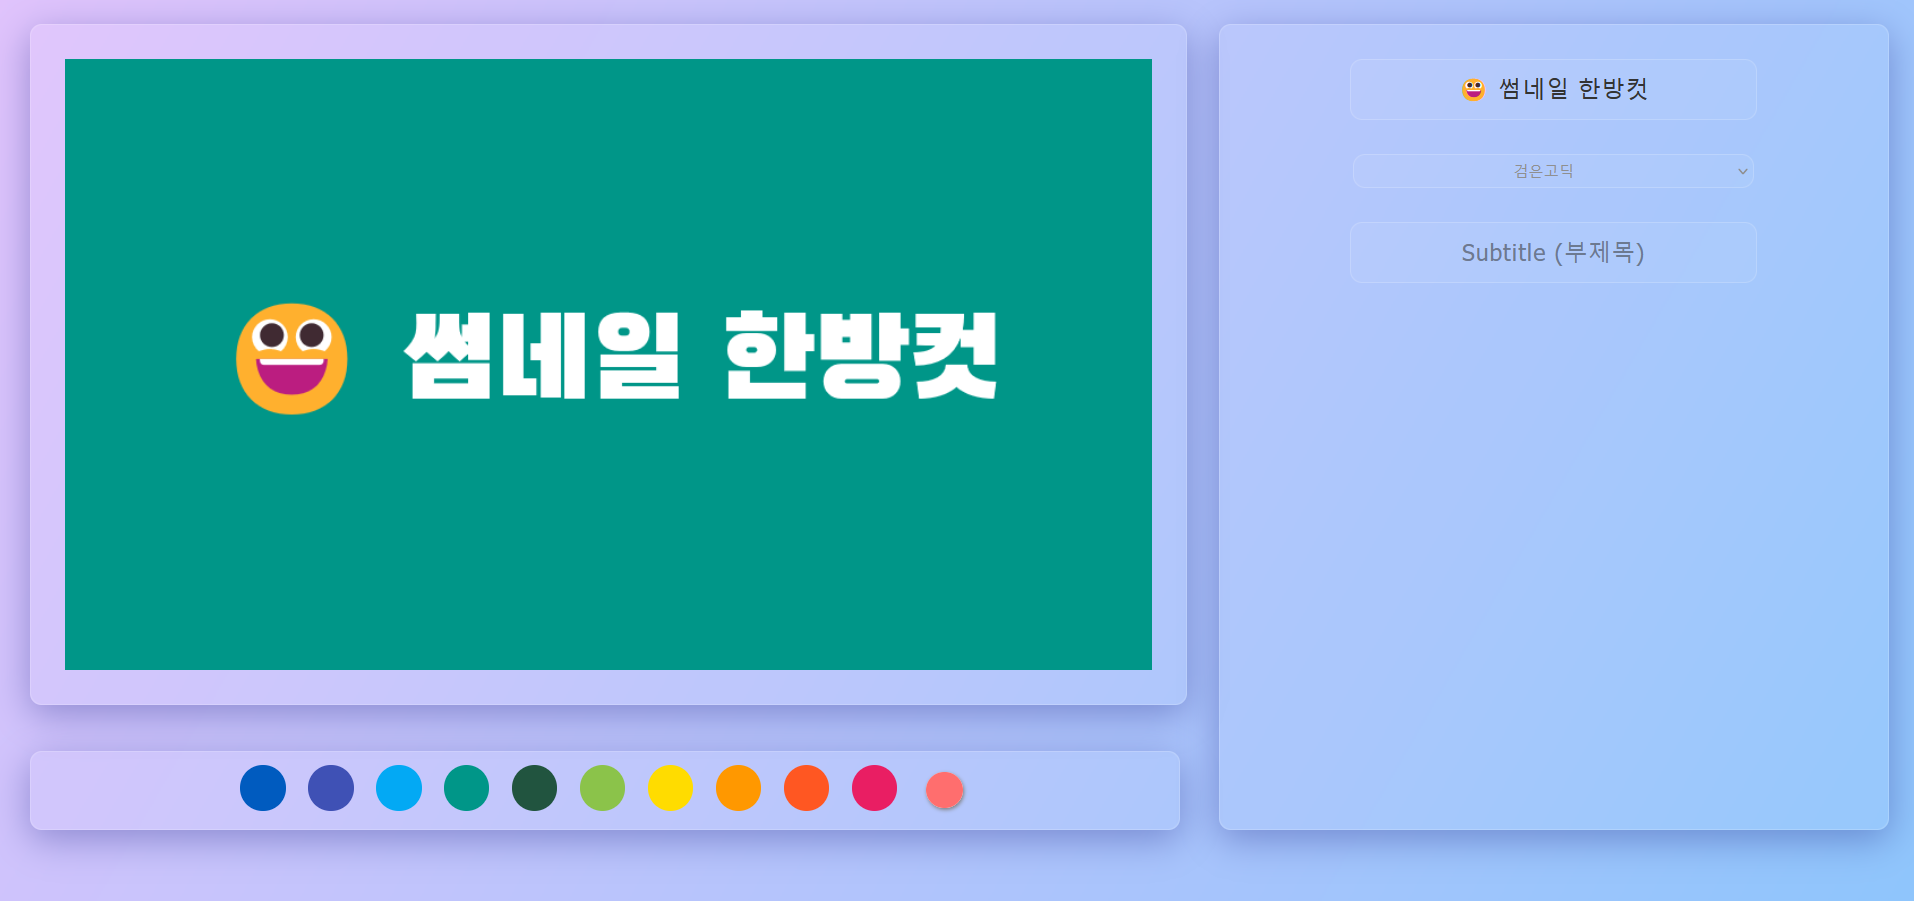
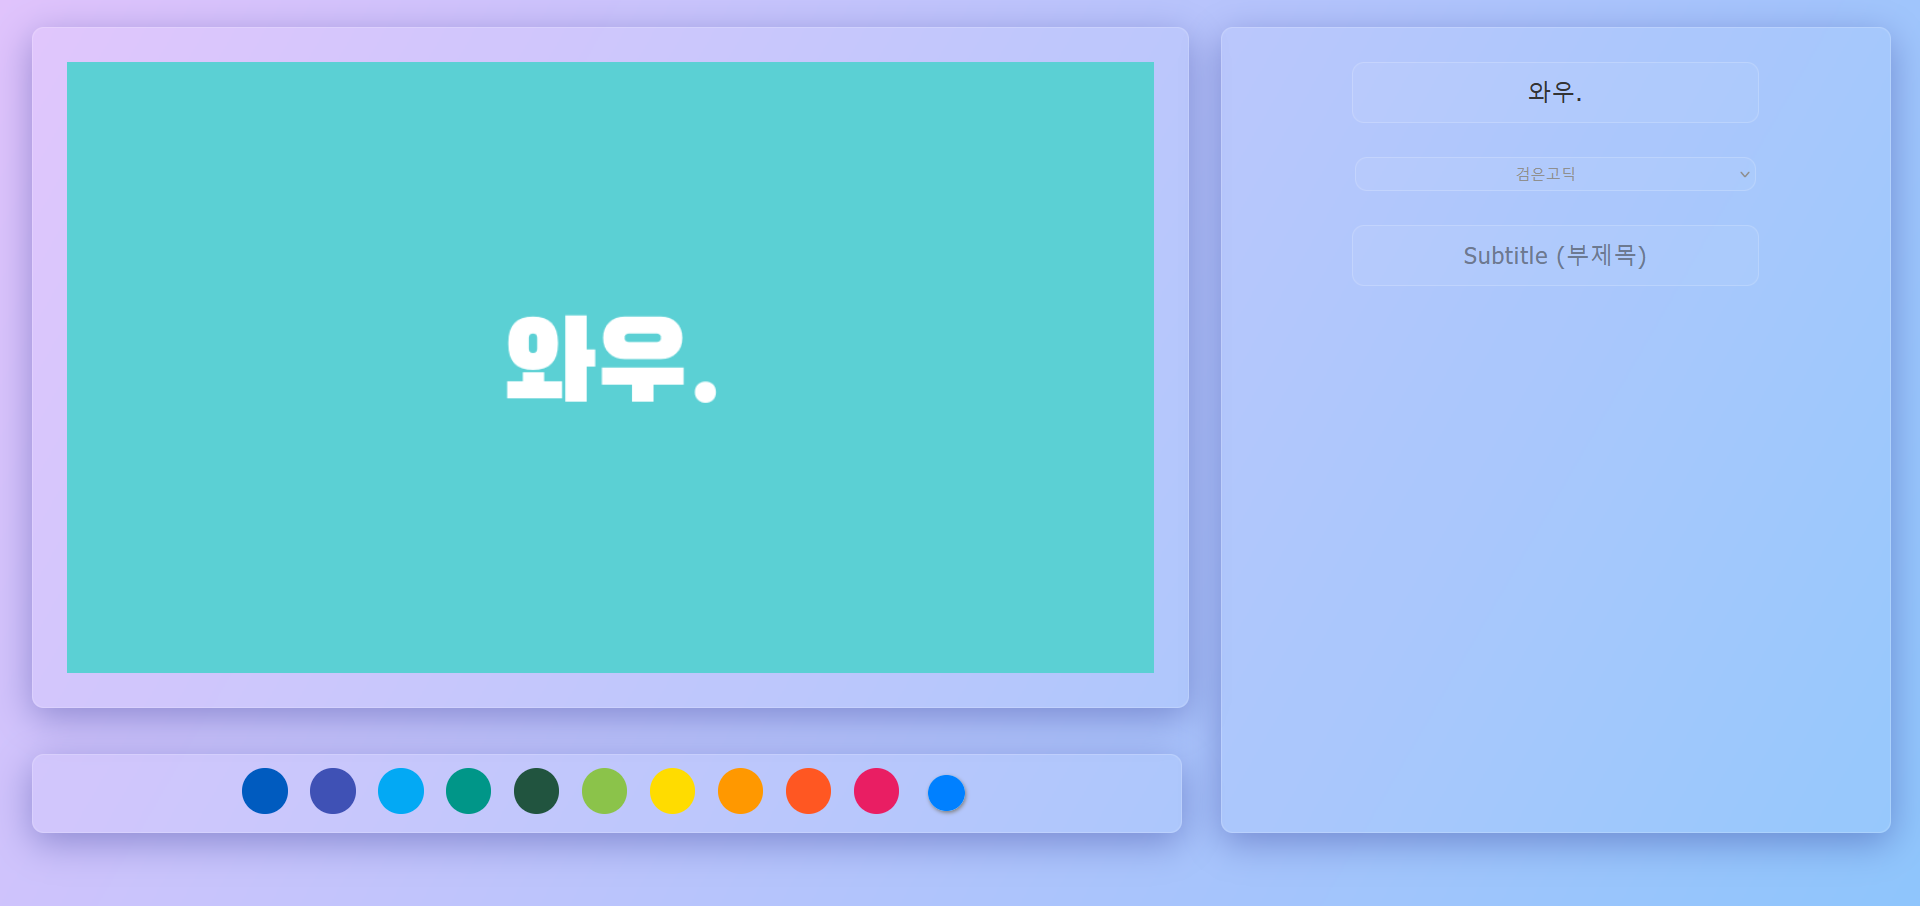
🎨 썸네일 메이커 바로가기
티스토리로 포스팅을 다~ 작성해놓고,
마지막에 썸네일을 추가하는 곳에서 항상 "멈칫" 하게 됩니다.
매번 썸네일을 만들기엔 너~무 귀찮아요...
(미리캔버스? 파워포인트? 이것도 괜찮긴 하지)

이왕 만드는 김에 디자인도 예쁘면 좋으니
효율성 같은건 집어치우고 디자인에 올인했습니다 😁
유리 컨셉 글래스모피즘 디자인입니다!
최적화는 다음에 심심할때 하죠 뭐...
(심심하지 않습니다)
🔥 HTML 캔버스
|
1
2
3
4
5
6
7
|
<div id="canvas">
<canvas id="Txt" class="cvs" width="960px" height="540px">
</canvas>
<canvas id="img" class="cvs" width="960px" height="540px">
</canvas>
</div> <!--end canvas-->
|
cs |
캔버스를 이용해서 배경을 출력하고, 텍스트도 입력하게 만들었습니다.
위의 코드로 각각 배경, 텍스트 캔버스를 만들어 주었습니다.
|
1
2
3
4
5
6
7
8
9
10
11
12
13
14
15
16
17
18
19
20
21
22
23
24
25
|
var cvs = document.getElementById('img').getContext("2d");
var canvas = document.getElementById("Txt");
var context = canvas.getContext("2d");
window.onload= function(){
cvs.fillStyle = "#005bbf";
cvs.globalAlpha = "1.0";
cvs.fillRect(0,0,960,540);
}
function input() {
context.clearRect(0, 0, canvas.width, canvas.height);
let text = document.getElementById("Title").value;
context.font = "100px Arial Black";
context.textAlign = "center";
context.fillStyle = "white";
context.fillText(text, 480, 300);
}
document.getElementById("Title").addEventListener("keyup", input);
document.getElementById("Title").dispatchEvent(new Event("keyup"));
|
cs |
자바스크립트는 일부분만 넣어 드릴께요.
풀 버전은 깃허브에 있습니다! [깃허브 바로가기]
|
1
2
3
4
5
6
7
8
9
10
11
12
13
14
15
16
17
18
19
20
21
22
23
24
25
26
27
28
|
window.onload= function(){
cvs.fillStyle = "#005bbf";
cvs.globalAlpha = "1.0";
cvs.fillRect(0,0,960,540);
}
var c0 = "#005bbf",
c1 = "#3f51b5",
c2 = "#03A9F4",
c3 = "#009688",
c4 = "#21543f",
c5 = "#8BC34A",
c6 = "#fFDC00",
c7 = "#FF9800",
c8 = "#FF5722",
c9 = "#E91E63";
function change(c) {
cvs.fillStyle = c;
cvs.globalAlpha = "1.0";
cvs.fillRect(0,0,960,540);
}
var c;
function changeC() {
c = document.getElementById("slColor").value;
change(c);
}
|
cs |
음... 이건 배경색 바꾸는 소스인데 뭔가.. (저만 알아볼 수 있는?)
✏️ 글꼴 변경
"아래쪽에 최적화 나옴"
HTML의 <select>를 이용해서 셀렉트박스로 글꼴을 선택할 수 있게 해 줬어요!
|
1
2
3
4
5
6
7
8
9
10
11
12
13
|
<select id="titleFont" class="select" onchange="changeFont()">
<option value="Black Han Sans">검은고딕</option>
<option value="Do Hyeon">배민 도현체</option>
<option value="Kirang Haerang">배민 기랑해랑</option>
<option value="Jua">배민 주아체</option>
<option value="batang">바탕체</option>
<option value="notosanskr">본고딕</option>
<option value="GmarketSansBold">지마켓 산스</option>
<option value="Arial Black">Arial Black</option>
<option value="Comic Sans MS">Comic Sans MS</option>
<option value="Gugi">Gugi</option>
<option value="Impact">Impact</option>
</select>
|
cs |
글꼴들은 모두 <link> 나 @font face 로 HTML, CSS에서 로드해 줬고요,
선택한 글꼴로 캔버스의 글꼴이 변경되도록 스크립트를 구성했습니다.
|
1
2
3
4
5
6
7
8
9
10
11
12
13
14
15
16
17
18
19
20
21
22
23
24
25
26
27
28
29
30
31
32
33
34
35
36
37
38
39
40
41
42
43
44
45
46
47
48
49
50
51
52
53
54
55
56
57
58
59
60
61
62
63
64
65
66
67
68
69
70
71
72
73
74
75
76
77
78
79
80
81
82
83
84
85
86
87
88
89
90
91
92
93
94
95
96
97
98
99
100
101
102
103
104
105
106
107
108
109
110
111
112
113
114
115
116
117
118
119
120
121
122
123
124
125
126
|
var temp;
function changeFont() {
temp = document.getElementById("titleFont").value;
if (temp === "Arial Black") {
context.clearRect(0, 0, canvas.width, canvas.height);
let text = document.getElementById("Title").value;
context.font = "100px Arial Black";
context.textAlign = "center";
context.fillStyle = "white";
context.fillText(text, 480, 300);
}
if (temp === "Impact") {
context.clearRect(0, 0, canvas.width, canvas.height);
let text = document.getElementById("Title").value;
context.font = "100px Impact";
context.textAlign = "center";
context.fillStyle = "white";
context.fillText(text, 480, 300);
}
if (temp === "Comic Sans MS") {
context.clearRect(0, 0, canvas.width, canvas.height);
let text = document.getElementById("Title").value;
context.font = "100px Comic Sans MS";
context.textAlign = "center";
context.fillStyle = "white";
context.fillText(text, 480, 300);
}
if (temp === "batang") {
context.clearRect(0, 0, canvas.width, canvas.height);
let text = document.getElementById("Title").value;
context.font = "bold 100px 바탕체";
context.textAlign = "center";
context.fillStyle = "white";
context.fillText(text, 480, 300);
}
if (temp === "notosanskr") {
context.clearRect(0, 0, canvas.width, canvas.height);
let text = document.getElementById("Title").value;
context.font = "100px Noto Sans KR";
context.textAlign = "center";
context.fillStyle = "white";
context.fillText(text, 480, 300);
}
if (temp === "Gugi") {
context.clearRect(0, 0, canvas.width, canvas.height);
let text = document.getElementById("Title").value;
context.font = "100px Gugi";
context.textAlign = "center";
context.fillStyle = "white";
context.fillText(text, 480, 300);
}
if (temp === "Do Hyeon") {
context.clearRect(0, 0, canvas.width, canvas.height);
let text = document.getElementById("Title").value;
context.font = "100px Do Hyeon";
context.textAlign = "center";
context.fillStyle = "white";
context.fillText(text, 480, 300);
}
if (temp === "Black Han Sans") {
context.clearRect(0, 0, canvas.width, canvas.height);
let text = document.getElementById("Title").value;
context.font = "100px Black Han Sans";
context.textAlign = "center";
context.fillStyle = "white";
context.fillText(text, 480, 300);
}
if (temp === "Kirang Haerang") {
context.clearRect(0, 0, canvas.width, canvas.height);
let text = document.getElementById("Title").value;
context.font = "100px Kirang Haerang";
context.textAlign = "center";
context.fillStyle = "white";
context.fillText(text, 480, 300);
}
if (temp === "Jua") {
context.clearRect(0, 0, canvas.width, canvas.height);
let text = document.getElementById("Title").value;
context.font = "100px Jua";
context.textAlign = "center";
context.fillStyle = "white";
context.fillText(text, 480, 300);
}
if (temp === "GmarketSansBold") {
context.clearRect(0, 0, canvas.width, canvas.height);
let text = document.getElementById("Title").value;
context.font = "100px GmarketSansBold";
context.textAlign = "center";
context.fillStyle = "white";
context.fillText(text, 480, 300);
}
}
|
cs |
이건 넘나 비효율적인 코드이니 사용하시기 전에 깊은 고민이 필요합니다.
아니면 다른 효율적인 방법을 찾아야 하지요.
(하지만 캔버스 글꼴에 변수 값을 넣으니 오류가 뜨는걸...)
아래쪽에 최적화 한 과정 나옵니다!
🎨랜덤 색상
다들 썸네일 생성기 만들때 랜덤 색상 기능 만들어 두시더라고요.
그래서
|
1
2
3
4
5
|
window.onload= function(){
cvs.fillStyle = "#" + Math.floor(Math.random() * 16777215).toString(16);;
cvs.globalAlpha = "1.0";
cvs.fillRect(0,0,960,540);
}
|
cs |
이렇게 하면 랜덤 색으로 캔버스 배경색이 변경이 되더라고요.
여기서 cvs 변수는 제가 따로 선언한 변수이니
document.getElementById('img').getContext("2d");
이런 변수였습니다.

새로고침 하니 이렇게 랜덤 배경이 생성됩니다.
👉 부제목과 폰트 설정 최적화
이야! 이게 생각보다 쉽게 최적화가 되더라고요.
우선 폰트 설정 최적화를 했습니다.
|
1
2
3
4
5
6
7
8
9
|
let font = "100px " + document.getElementById("titleFont").value;
context.clearRect(0, 0, canvas.width, canvas.height);
let text = document.getElementById("Title").value;
context.font = font;
context.textAlign = "center";
context.fillStyle = "white";
context.fillText(text, 480, 300);
|
cs |
부제목용 subTxt 라는 캔버스를 만들고,
제목 캔버스와 똑같이 설정해 주면 됩니다.
다만 글자 크기와 위치만 좀 조절해 주세요!
⬇️ 다운로드 기능
당연히 썸네일을 만들었으면 "다운로드"를 해야 합니다.
저도 방법을 몰라서 이곳 저곳 찾으며 구현했네요
[HTML] Canvas 2개로 레이어 기능 구현하기
방법만 보고 싶으면 해결방안으로!!교육지원금 서명 생성기를 만드는데 캔버스에 이미지를 삽입해서 입력받은 글자를 토대로 적절한 위치에 텍스트를 넣어주는 기능을 구현하고 있었다.아직
velog.io
이 블로그 덕에 한방에 성공했습니다.
|
1
2
3
4
5
6
7
8
9
10
11
12
13
14
15
|
function download() {
var canva = document.getElementById("canvasSubmit"); //안보이는 캔버스(다운로드용)
var ctx = canva.getContext("2d");
ctx.drawImage(document.getElementById('img'), 0, 0); //배경 때려넣기
ctx.drawImage(document.getElementById("Txt"), 0, 0); //제목 때려넣기
ctx.drawImage(document.getElementById("subTxt"), 0, 0); //부제목 때려넣기
let link = document.createElement('a'); //다운로드 링크 생성
link.download = "Banner.png"; //파일 이름: Banner.png
link.href = canva.toDataURL();
document.body.appendChild(link);
link.click();
document.body.removeChild(link); //링크
}
|
cs |

만족합니다.

다운로드도 잘~ 됩니다.
😄 글자 크기 조절
|
1
2
3
4
|
<div id="titleRange" class="range">
<span id="tRangeValue" class="rangeValue">80 </span> <span class="rangeValue">px</span>
<input id="titleSizeInput" type="range" value="80" min="40" max="150" oninput="titleChange()">
</div>
|
cs |
현재 글자 크기를 나타내 주는 <span>과
글자 크기를 조절할 수 있는 range input을 같이 넣었습니다.
CSS는 마찬가지로 "유리 컨셉" 글래스모피즘으로 적용했어요.
|
1
2
3
4
5
6
7
8
9
10
11
12
13
14
15
16
17
18
19
20
21
22
23
24
25
26
27
28
29
30
31
32
33
34
35
36
37
38
39
40
41
42
43
44
45
46
47
48
49
50
51
52
53
54
55
56
57
58
59
60
61
62
63
64
65
66
67
68
69
70
71
|
input[type=range]:focus {
outline: none;
}
input[type=range]{
-webkit-appearance: none;
border: 1px solid #000000;
height: 0px;
width: 330px;
margin: 20px;
margin-top: 30px;
box-shadow: 1px 1px 1px #000000, 0px 0px 1px #0d0d0d;
border-radius: 3px;
/* style */
background: rgba( 255, 255, 255, 0.05 );
box-shadow: 0 8px 32px 0 rgba( 31, 38, 135, 0.37 );
backdrop-filter: blur( 20px );
-webkit-backdrop-filter: blur( 20px );
border-radius: 10px;
border: 1px solid rgba( 255, 255, 255, 0.18 );
}
input[type=range]::-webkit-slider-thumb {
width: 20px;
height: 20px;
/* style */
background: rgba( 255, 255, 255, 0.15 );
backdrop-filter: blur( 20px );
-webkit-backdrop-filter: blur( 20px );
border-radius: 10px;
border: 1px solid rgba( 255, 255, 255, 0.18 );
}
input[type=range]::-moz-range-thumb {
width: 20px;
height: 20px;
/* style */
background: rgba( 255, 255, 255, 0.15 );
backdrop-filter: blur( 20px );
-webkit-backdrop-filter: blur( 20px );
border-radius: 10px;
border: 1px solid rgba( 255, 255, 255, 0.18 );
}
input[type=range]::-ms-thumb {
width: 20px;
height: 20px;
/* style */
background: rgba( 255, 255, 255, 0.15 );
box-shadow: 0 8px 32px 0 rgba( 31, 38, 135, 0.37 );
backdrop-filter: blur( 20px );
-webkit-backdrop-filter: blur( 20px );
border-radius: 10px;
border: 1px solid rgba( 255, 255, 255, 0.18 );
}
input[type=range]::-moz-range-thumb:hover {
background: rgba(66, 66, 66, 0.05);
}
input[type=range]::-webkit-slider-thumb {
background: rgba(66, 66, 66, 0.05);
}
input[type=range]::-ms-thumb {
background: rgba(66, 66, 66, 0.05);
}
|
cs |
rnage input의 스타일을 동시에 적용했어요.
크로스 브라우징 때문에 코드가 쫌 (많이) 깁니다.
|
1
2
3
4
5
6
7
8
9
10
11
12
13
|
document.getElementById('tRangeValue').innerHTML=document.getElementById("titleSizeInput").value
let size = document.getElementById("titleSizeInput").value;
font = size + "px " + document.getElementById("titleFont").value;
context.clearRect(0, 0, canvas.width, canvas.height);
let text = document.getElementById("Title").value;
context.font = font;
context.textAlign = "center";
context.fillStyle = "white";
context.fillText(text, 480, 300);
|
cs |
스크립트는 글자를 바꾸는 함수를 일반화 함으로써
코드가 줄어들었답니다. 사용자가 설정을 변경하면,
내용, 글자 크기, 폰트를 한번에 갱신해 주는 코드예요.

한번 써보고 말씀하세요~
편하다니까
↓↓↓
🎨 썸네일 메이커 바로가기
'egg.code > HTML' 카테고리의 다른 글
| [html] #1 온라인 html 코드 편집기 (IDE) 코드샌드박스 (CodeSandbox) (10) | 2024.01.10 |
|---|
